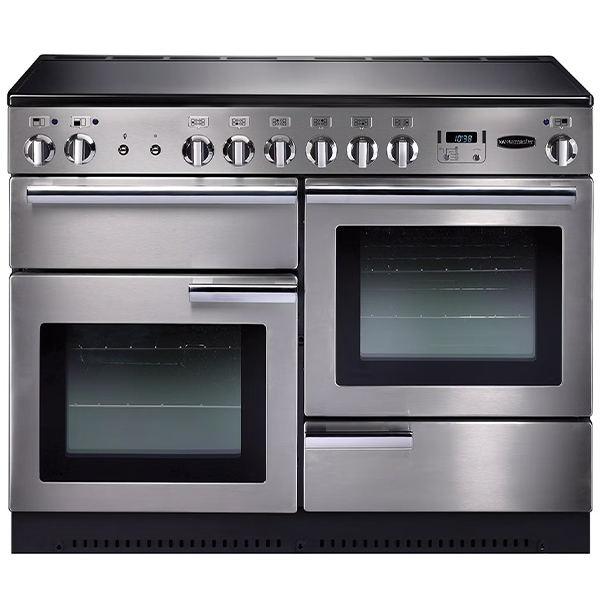
Range Cooker Electric Installation requires attention to electrical connections, leveling, and ensuring proper ventilation. Here’s a step-by-step guide to help you with the installation process:
1. Preparation:
- Gather all necessary tools and materials, including a screwdriver, pliers, adjustable wrench, leveling tool, and installation manual.
- Ensure that the location for the range cooker has proper ventilation and access to the appropriate electrical outlet.
2. Unpacking and Inspection:
- Carefully unpack the range cooker and inspect it for any shipping damages or defects.
- Remove all packaging materials and accessories.
3. Electrical Connections:
- Turn off the power to the electrical outlet at the circuit breaker.
- Ensure that the electrical outlet is compatible with the range cooker’s requirements (typically a 240-volt, 50-amp outlet).
- If necessary, install a new electrical outlet that matches the range cooker’s specifications.
- Connect the range cooker’s power cord to the electrical outlet, following the manufacturer’s instructions and local electrical codes.
- Double-check that the power is turned off at the circuit breaker before making any electrical connections.
4. Positioning the Range Cooker:
- Carefully move the range cooker into its final position, ensuring that it is level and stable.
- Use a leveling tool to adjust the leveling feet or legs to ensure the range cooker sits evenly on the floor.
5. Connecting Utilities:
- Connect the range cooker to the appropriate electrical outlet, ensuring the power cord is securely plugged in.
- If the range cooker has a separate cooktop and oven, ensure that both are connected to the electrical supply.
6. Checking Ventilation:
- Ensure that the range cooker is positioned near a ventilation hood or an exterior wall where a ventilation hood can be installed.
- Verify that the ventilation hood is properly installed and vented to the outside to remove cooking odors and smoke.
7. Final Checks:
- Inspect all electrical connections to ensure they are secure and free of any damage.
- Verify that the range cooker is level and stable, adjusting the leveling feet if necessary.
- Check that all knobs, handles, and accessories are properly attached.
8. Testing:
- Turn on the power to the range cooker at the circuit breaker.
- Test each burner and the oven to ensure they heat up properly.
- Check that the oven door closes securely and that the oven light and fan (if applicable) are working.
9. Cleanup:
- Clean up any debris or packaging materials from the installation process.
- Wipe down the exterior of the range cooker to remove any fingerprints or smudges.
10. Customer Demonstration:
- Provide a demonstration to the customer on how to operate the range cooker and any special features it may have.
- Answer any questions the customer may have about maintenance or troubleshooting.
11. Completion:
- Confirm with the customer that they are satisfied with the installation.
- Provide any warranty information and contact details for future assistance.
By following these steps carefully, you can ensure a successful Range Cooker Electric Installation. If you’re not comfortable with any aspect of the installation process, it’s always best to consult a professional installer.


Reviews
There are no reviews yet.