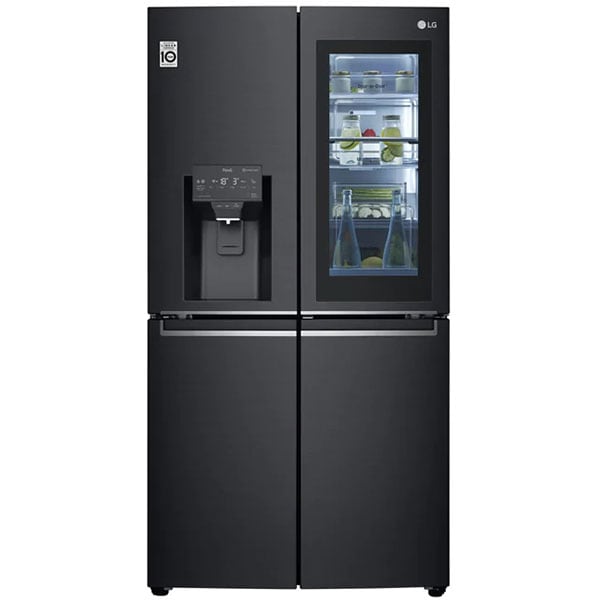
American Style Fridge Freezer Installation involves positioning, connecting utilities, and ensuring proper ventilation. Here’s a step-by-step guide to help you with the installation process:
1. Preparation:
- Gather all necessary tools and materials, including a wrench, pliers, level, and installation manual.
- Ensure the location for the fridge freezer has access to a suitable electrical outlet and enough space for proper ventilation.
2. Unpacking and Inspection:
- Carefully unpack the fridge freezer and inspect it for any shipping damages or defects.
- Remove all packaging materials and accessories.
3. Positioning the Fridge Freezer:
- Place the fridge freezer in its desired location, leaving enough space around it for ventilation and access to the doors.
- Use a level to check if the fridge freezer is level from front to back and side to side.
- Adjust the leveling feet or legs as needed to ensure the fridge freezer is stable and level.
4. Connecting Utilities:
- Plug the fridge freezer’s power cord into the electrical outlet.
- If the fridge freezer has a water dispenser or ice maker, connect it to the water supply using the provided water line and fittings.
- Ensure the water line is securely connected and does not leak.
5. Testing:
- Turn on the power to the fridge freezer at the electrical outlet.
- Set the temperature controls to the desired settings for the fridge and freezer compartments.
- Allow the fridge freezer to run for several hours to reach the proper temperature.
- Test the water dispenser and ice maker (if applicable) to ensure they work properly.
6. Stabilizing the Fridge Freezer:
- Adjust the position of the fridge freezer if necessary to ensure it is properly aligned and centered.
- Use the adjustable feet or leveling mechanism to stabilize the fridge freezer and prevent it from rocking or vibrating excessively during operation.
7. Final Checks:
- Check the door alignment and ensure they close properly and seal tightly.
- Verify that all connections are secure and tight, and there are no signs of leaks or damage.
8. Ventilation:
- Ensure that the grille or vent at the back or bottom of the fridge freezer is not blocked, allowing for proper airflow and ventilation.
- Leave a few inches of space between the back of the fridge freezer and the wall to allow for adequate airflow.
9. Cleanup:
- Clean up any debris or packaging materials from the installation process.
- Wipe down the exterior of the fridge freezer to remove any fingerprints or smudges.
10. Customer Demonstration:
- Provide a demonstration to the customer on how to operate the fridge freezer and any special features it may have.
- Explain proper storage techniques, temperature settings, and maintenance procedures.
11. Completion:
- Confirm with the customer that they are satisfied with the installation.
- Provide any warranty information and contact details for future assistance.
By following these steps carefully, you can ensure a successful American Style Fridge Freezer Installation. If you’re not comfortable with any aspect of the installation process, it’s always best to consult a professional installer.


Reviews
There are no reviews yet.